In order to start using the Outsource Management module, you will need to first create your list of suppliers with all the detailed information about each supplier. You can add suppliers Manually by adding individual suppliers or Upload via bulk by adding suppliers in CSV.
Manually Adding Individual Suppliers
- Click on Suppliers on the main navigator panel
- On the list page, click on the "+" Icon

Once you have completed filling up the fields, click Save. The new supplier will be displayed in the supplier listing page.
Company (required) – The name of the company
- Phone
- Fax
- Website
Remarks – Additional description of the supplier
Approval Status - You can select and set as an Approved, Unapproved or Conditional Supplier.
Categories - These list items come from the Suppliers Categories list from List and Menus Page.
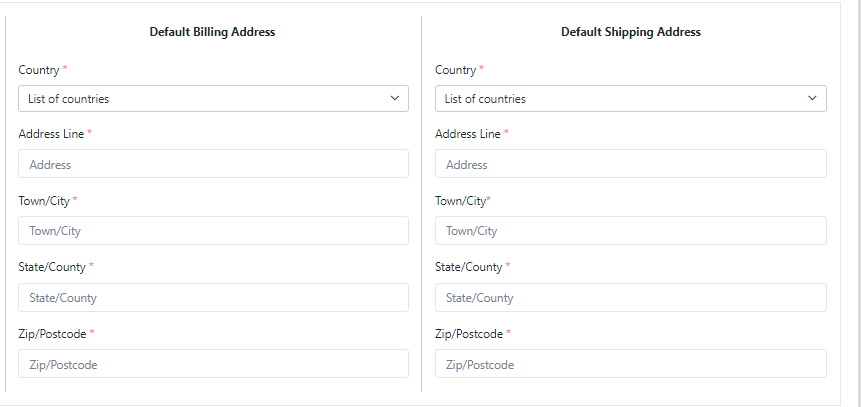
Addresses - If your supplier has separate addresses for shipping and billing, you can create multiple addresses.

Upload via Bulk Add Suppliers in CSV
Click on Suppliers on the main navigator panel > Import Suppliers

On the import page, click on the Download Template to download a copy of a sample import CSV. If you are doing this for the first time copy your existing suppliers information into respective fields.
Click Upload Suppliers File

To Upload via bulk a supplier list into the ShopXpert App using the Excel Template, it's important to pay close attention to details. The aim is to make sure that the data in your supplier list matches the structure and format required by the app. This helps to prevent any errors during the upload process. Therefore, it's essential to have the supplier list structured exactly as shown in the example Excel file.

After mapping the data, rename your columns in Excel to match exactly with the Excel template headers: if you have Name → Company Name.
